NewWindow Snippet
When you click a TGML graphic that has a configured URL In Same Window snippet, another site or web application page opens in the same window.
This topic uses an example to illustrate how to configure a NewWindow snippet.
Prerequisites:
This example uses a graphic file that already has a binded component or equipment in the workspace. For more information on how to prepare the TGML graphic snippet examples, see TGML snippet example prerequisites.
To create a NewWindow snippet:
- In the Snippets pane, click NewWindow from the list of snippets.
-
Drag and drop the NewWindow snippet over the selected component in the workspace and save it.
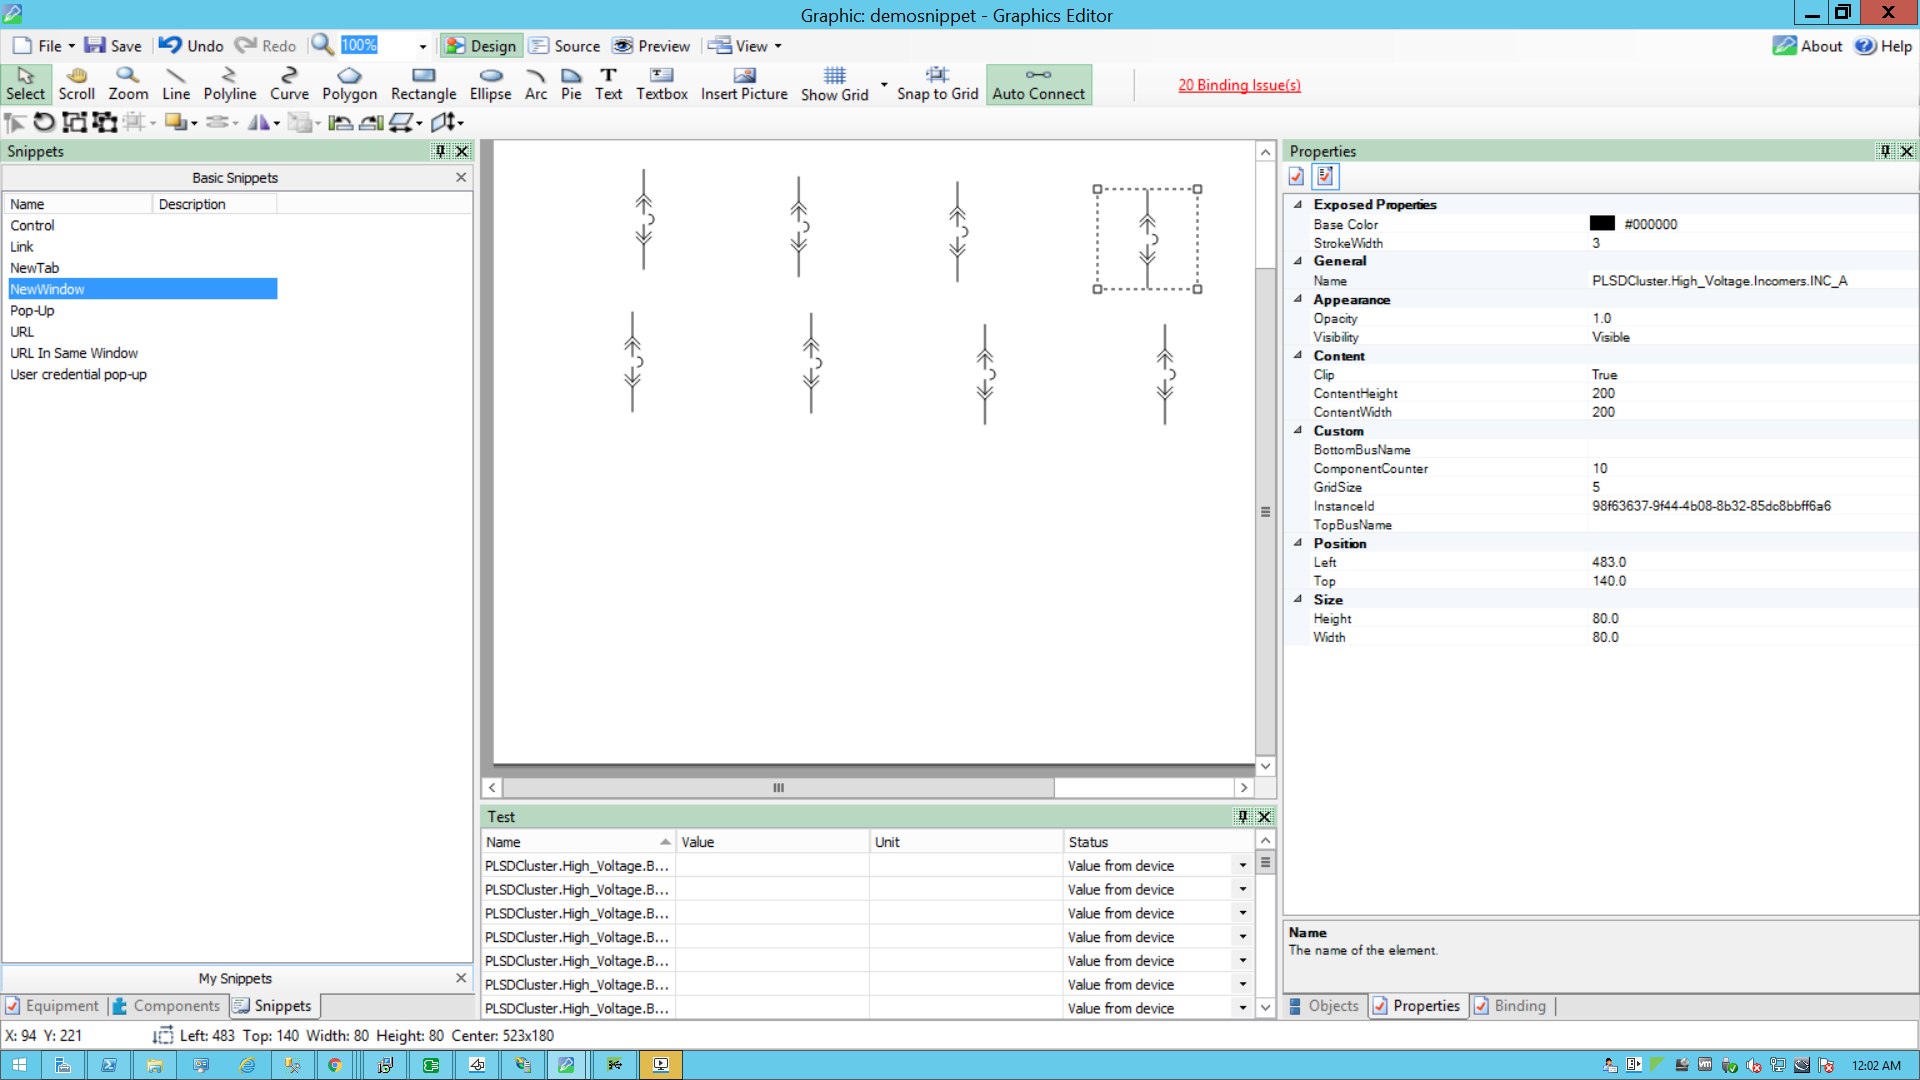
- In the bottom right corner, in the Objects pane, click + to open the TGML.
- Update the link with the TGML file to be opened. For example: test3
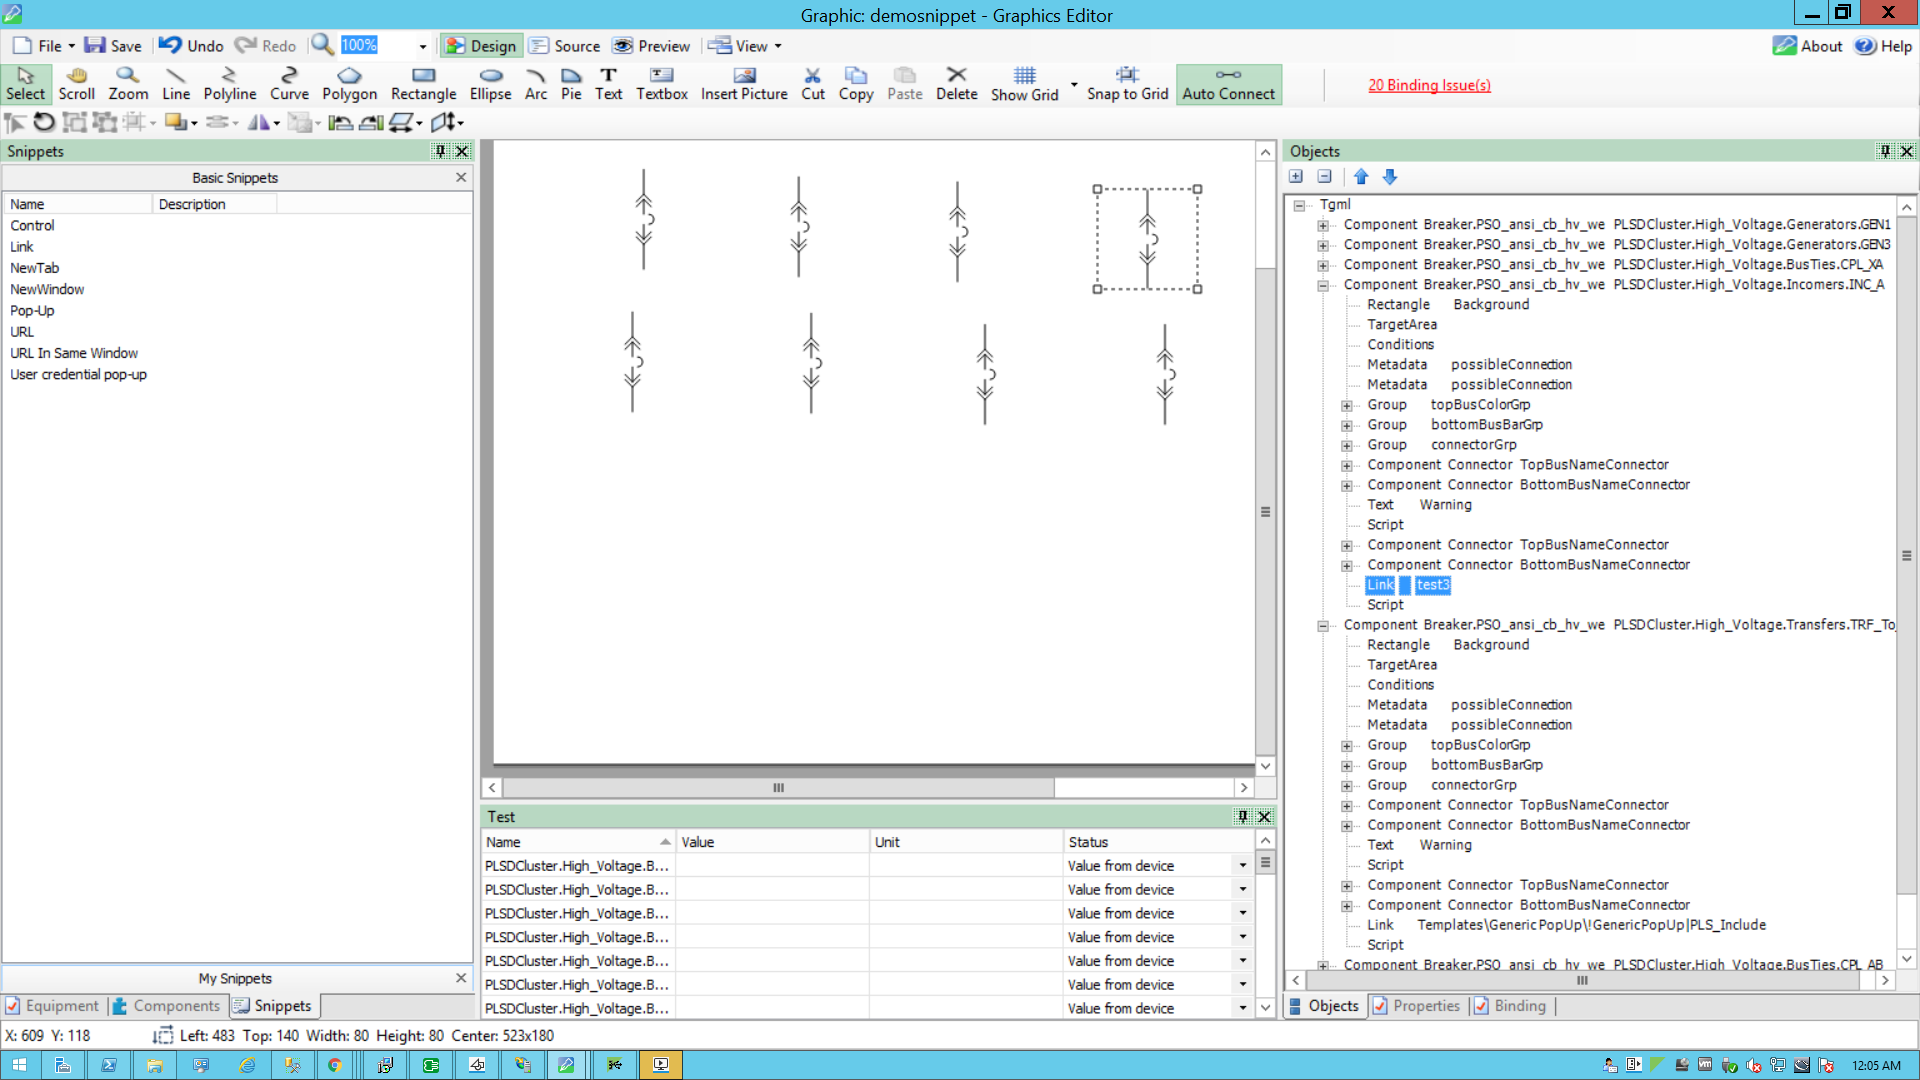
- Click Script.

- In the bottom right corner, click Properties, and then expand Behavior.
- Click the ellipsis next to OnMouseClick.
- Use the following script to configure the NewWindow snippet: Copy
function click(evt)
{
//componentName is name of the component based on the component selection we will fetch the component name
var componentName = evt.getCurrentTarget().getAttribute("Name");

//Collecting the links from the Component
var Link = evt.getCurrentTarget().getElementsByTagName("Link");

//title is component name use for showing the title
var title = componentName;

//customExpose-If two breakers are internally connected (means multi equipment);
var customExpose = evt.getCurrentTarget().getAttribute("SubstituteNames");

//Sets the width of the window
var width = screen.width * 0.45;

//Sets the height of the window
var height = screen.width * 0.4;

for (var i=0;i< Link.length;i++) {
    //LinkFileName : Extracting the file name from the Link
    var LinkFileName = Link.item(i).getAttribute("Name");
    //With invoke function you can configure the graphic component in Graphics Editor to open a linked target object in a target location when you perform a action(NewWindow)on the component
    invoke(LinkFileName, "Type = NewWindow | ComponentName=" + componentName + " | Title=" + title + " | Width=" + width + " | Height=" + height + " | CustomExpose=" + customExpose);
    }
}

function load(evt)
{
} - Go to File > Save As > Project TGML.

- Enter a file name, and then click Save.
Two additional properties appear: Link and Script.
To view the snippet behavior:
- Log into PO Web Applications (https://localhost/webhmi or https://ipaddress/webhmi).
The Power Operation Web Applications Home page appears.
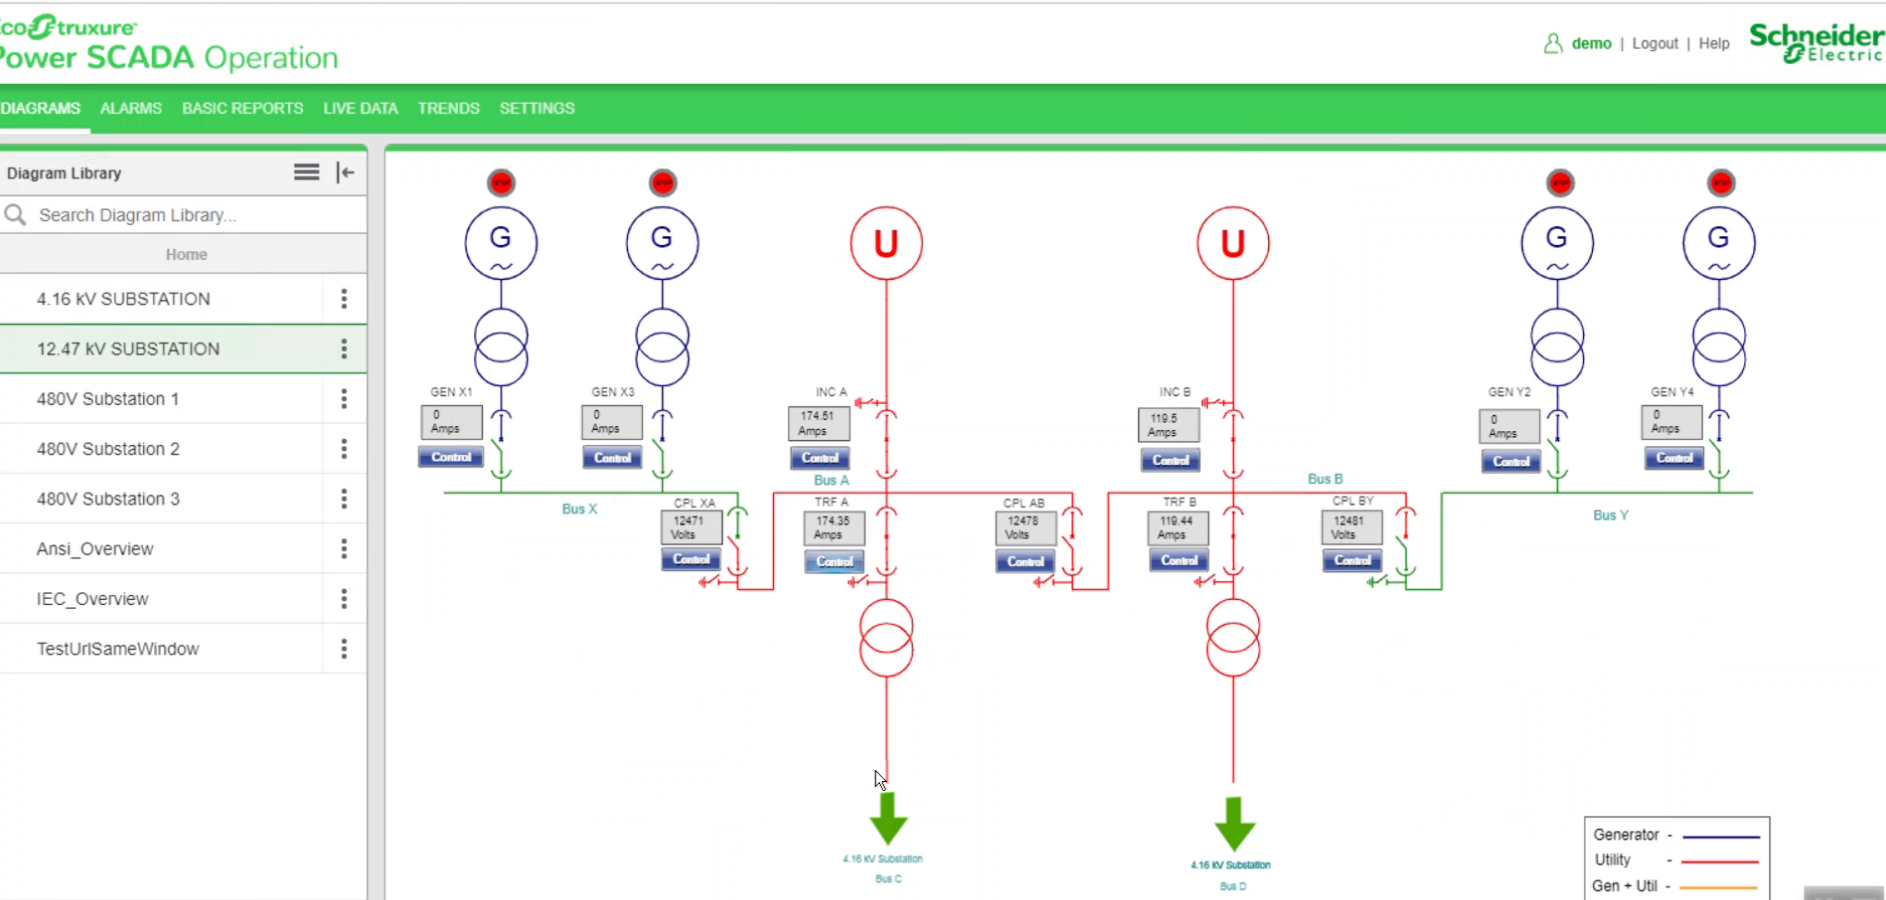
- Select the new TGML file from the Diagram Library.
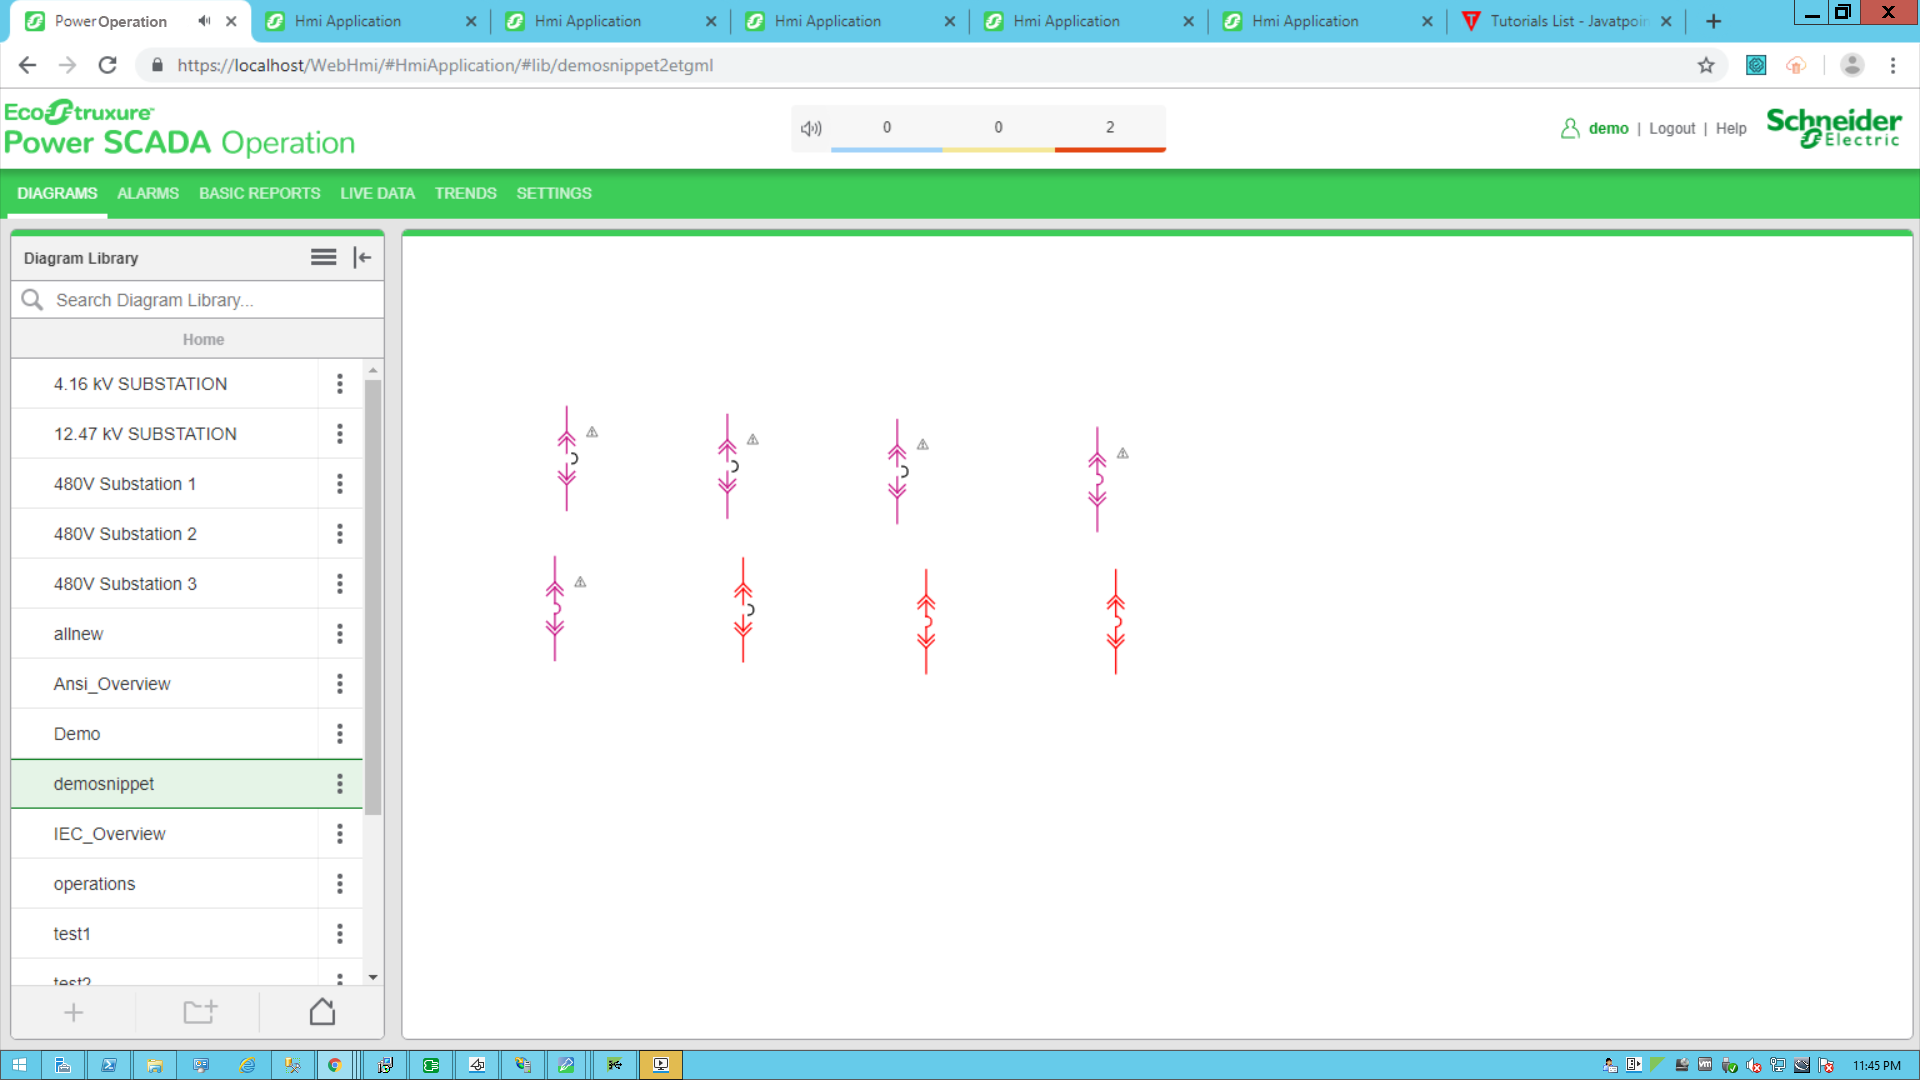
- Click the breaker to open in a NewWindow.
